How to Connect Facebook Chat to Your Website for Instant Customer Interaction
In today’s digital age, providing excellent customer support and instant communication channels are vital for businesses to thrive. Facebook Chat, with its massive user base and familiarity, offers a convenient platform for connecting with customers. By integrating Facebook Chat into your website, you can engage visitors in real-time conversations, resolve queries promptly, and enhance overall customer satisfaction. In this blog post, we’ll guide you through the process of connecting Facebook Chat to your website for instant customer interaction.
Step 1: Create a Facebook Page and App To connect Facebook Chat to your website, you’ll need a Facebook Page for your business and a Facebook App. If you already have a Facebook Page, proceed to create a new app by visiting the Facebook Developers portal. Create an app, provide necessary details, and generate an App ID and App Secret.
Step 2: Set Up Facebook Messenger Platform In the Facebook Developers portal, navigate to your newly created app and access the Messenger settings. Enable the Messenger platform and configure the necessary settings, such as whitelisting your domain and generating an access token.
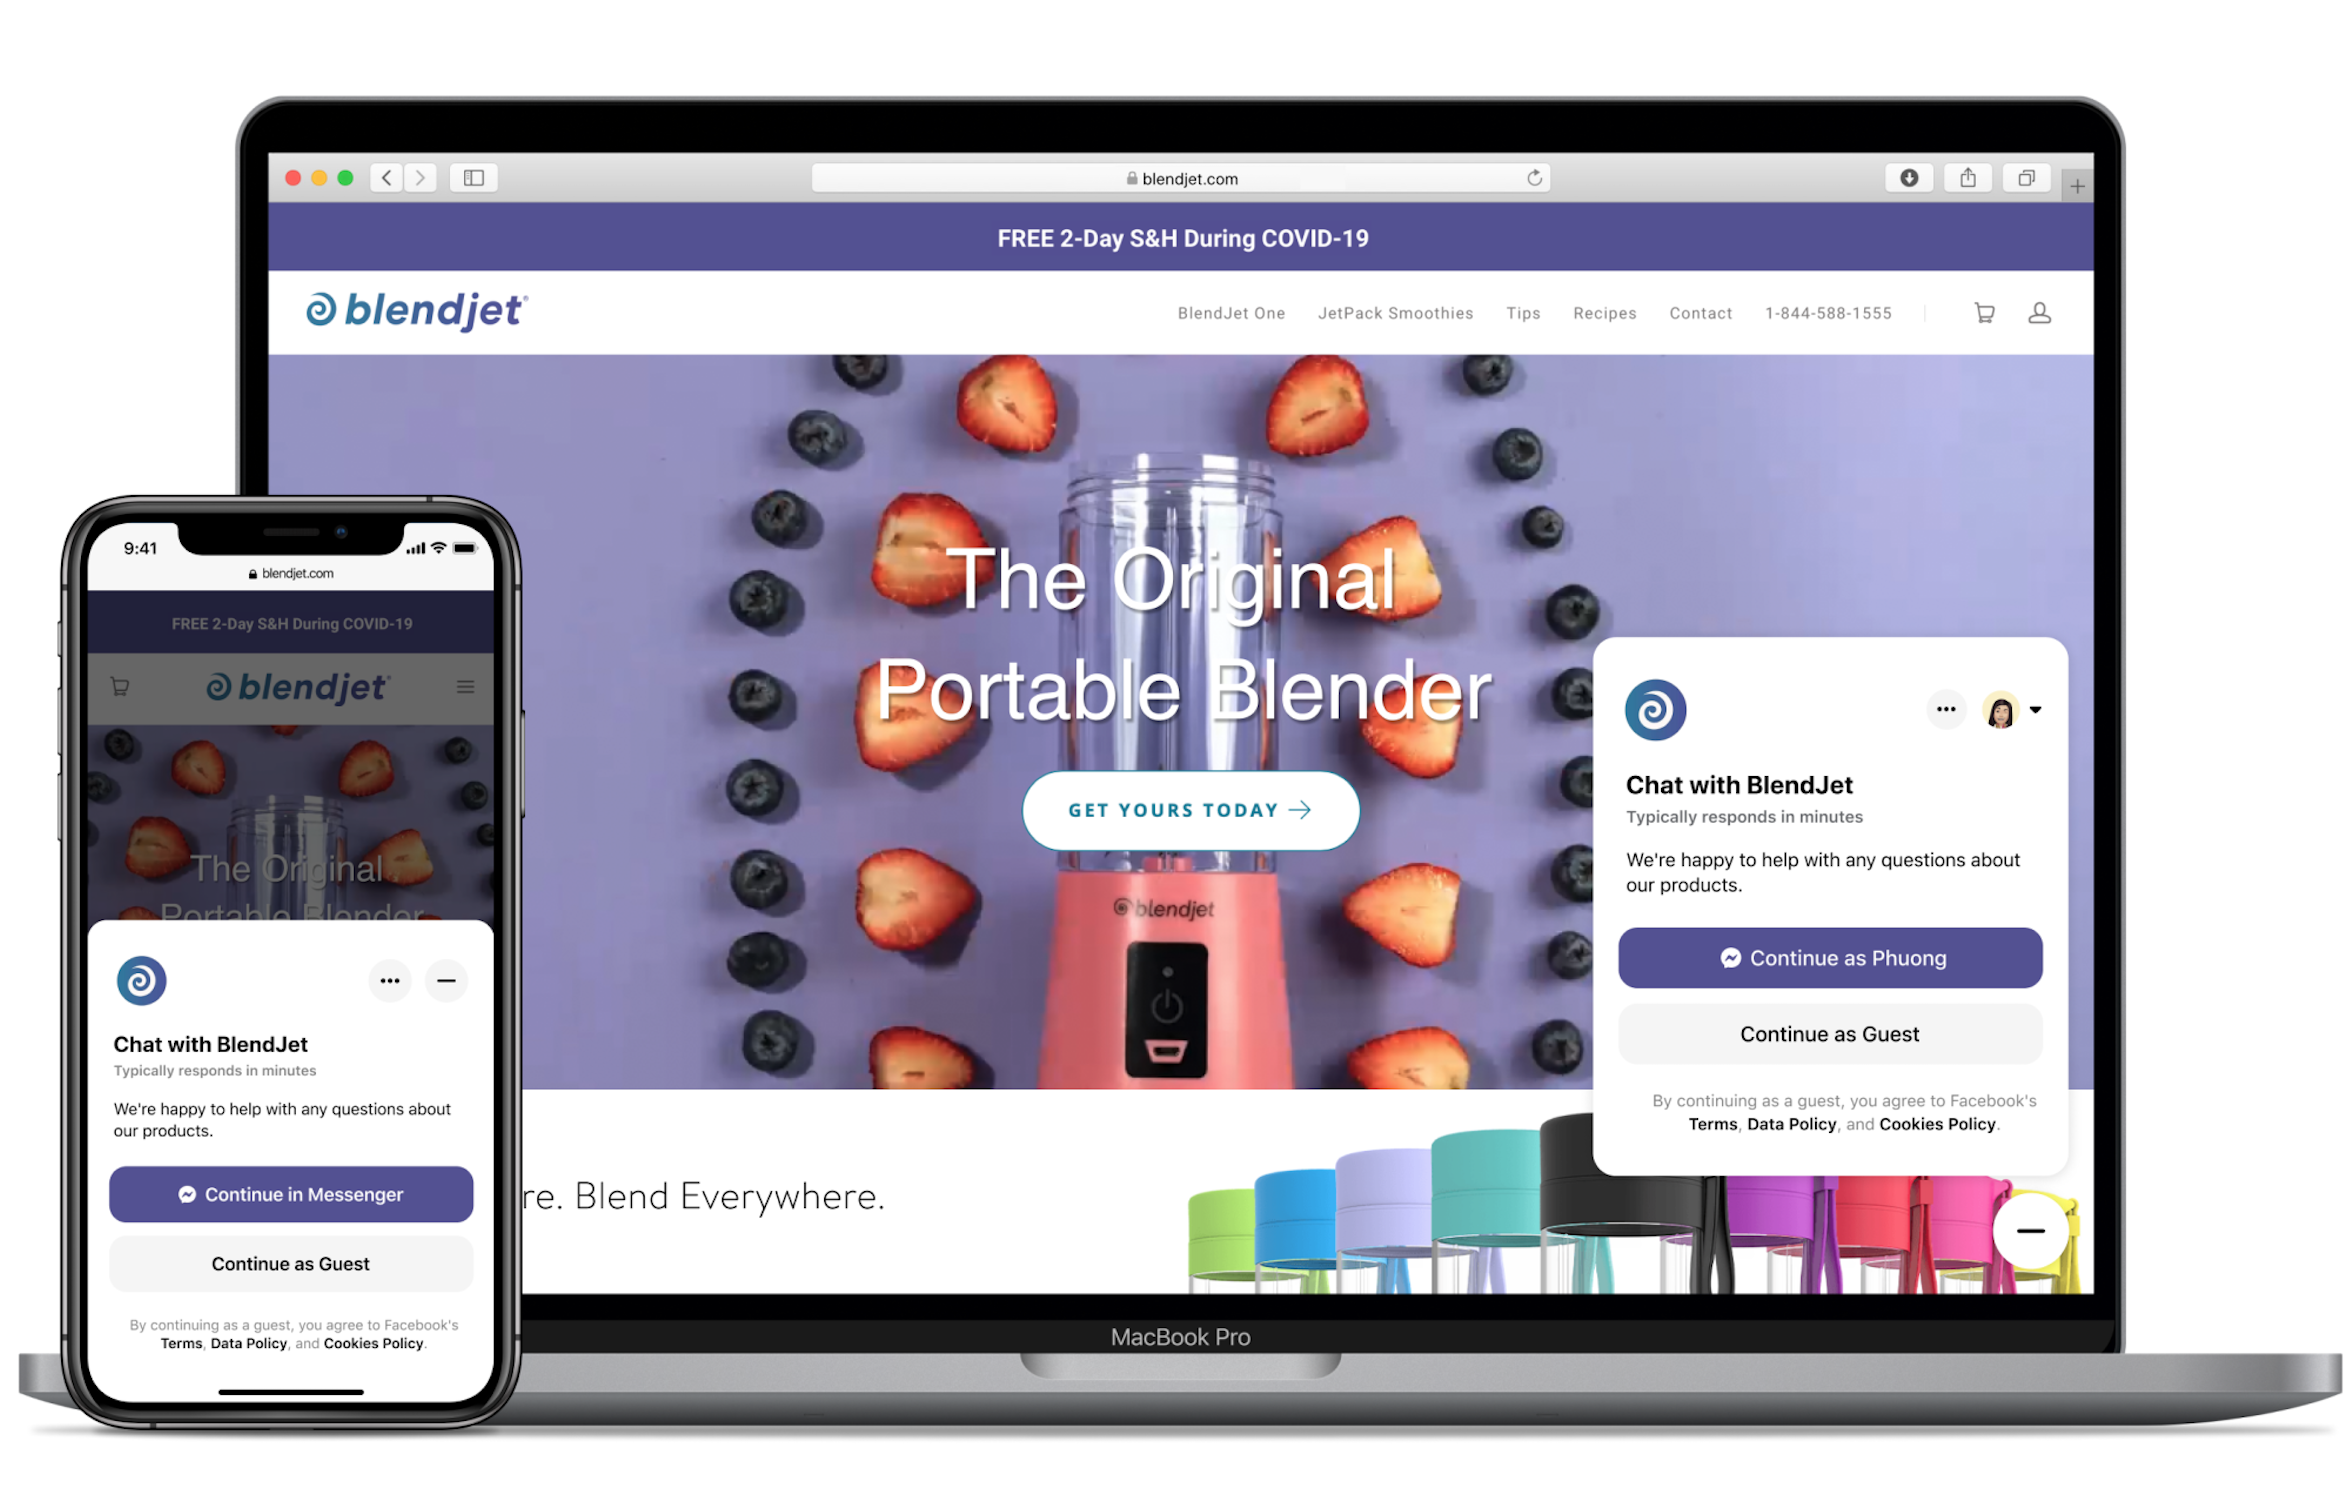
Step 3: Install Facebook Messenger Plugin To integrate Facebook Chat into your website, you can use the Facebook Messenger Plugin. This plugin allows visitors to chat with your business directly using their Facebook accounts. Copy the provided code snippet from the Facebook Developers portal and paste it into the HTML of your website, preferably just before the closing </body> tag.
Step 4: Customize the Chat Plugin The Facebook Messenger Plugin offers several customization options to match your website’s design and branding. Customize the color scheme, language settings, greeting message, and other parameters to provide a seamless user experience.
Step 5: Test and Optimize Once you’ve integrated the Facebook Chat plugin, thoroughly test it to ensure proper functionality. Open your website in different browsers and devices, and initiate conversations to verify that messages are received correctly. Keep an eye on response times and user feedback to optimize your customer support workflow.
Step 6: Enable Automated Responses and Chatbots (Optional) For enhanced customer service, consider leveraging Facebook’s automation capabilities. By setting up automated responses and chatbots, you can provide instant answers to frequently asked questions and streamline the customer support process. Facebook’s Messenger API provides robust tools for building chatbots that can handle various tasks, such as order tracking, appointment scheduling, and basic inquiries.
Step 7: Train and Empower Your Support Team While automation can provide quick responses, it’s crucial to have a well-trained support team ready to handle complex queries and provide personalized assistance. Empower your support agents with the necessary knowledge and tools to effectively use the Facebook Chat platform. Train them on customer service best practices, response etiquette, and troubleshooting techniques.
Integrating Facebook Chat into your website enables instant customer interaction and enhances your business’s ability to provide exceptional customer support. By following the steps outlined in this blog post, you can seamlessly connect Facebook Chat to your website, customize the experience, and optimize your support workflow. Remember, real-time communication is key to building trust, fostering customer loyalty, and driving business growth in the digital era.